
I bought these Melty Beads in the dollar bins at Michaels last year and hid them away for a rainy day. I must have hid them too well because I just dug them up the other day!
Ava and Sidney were so excited to do the project even though they had no idea what Melty Beads even were. We had to wait for Ava to get home from school, which meant Sidney asked me no fewer than 10 times if it was almost time to pick Ava up from school. "Is it this much time left?" Sidney asked holding her hands less than an inch apart. With all this build up, I was really hoping that the Melty Beads were as exciting as the girls imagined they'd be.
SPOILER: They were even better! Honestly, I don't get what all the fuss is about, but I am not going to question it. This project kept the girls quiet and busy the entire time I got dinner ready. That is nothing short of a miracle.
So, without further ado....Melty Beads!

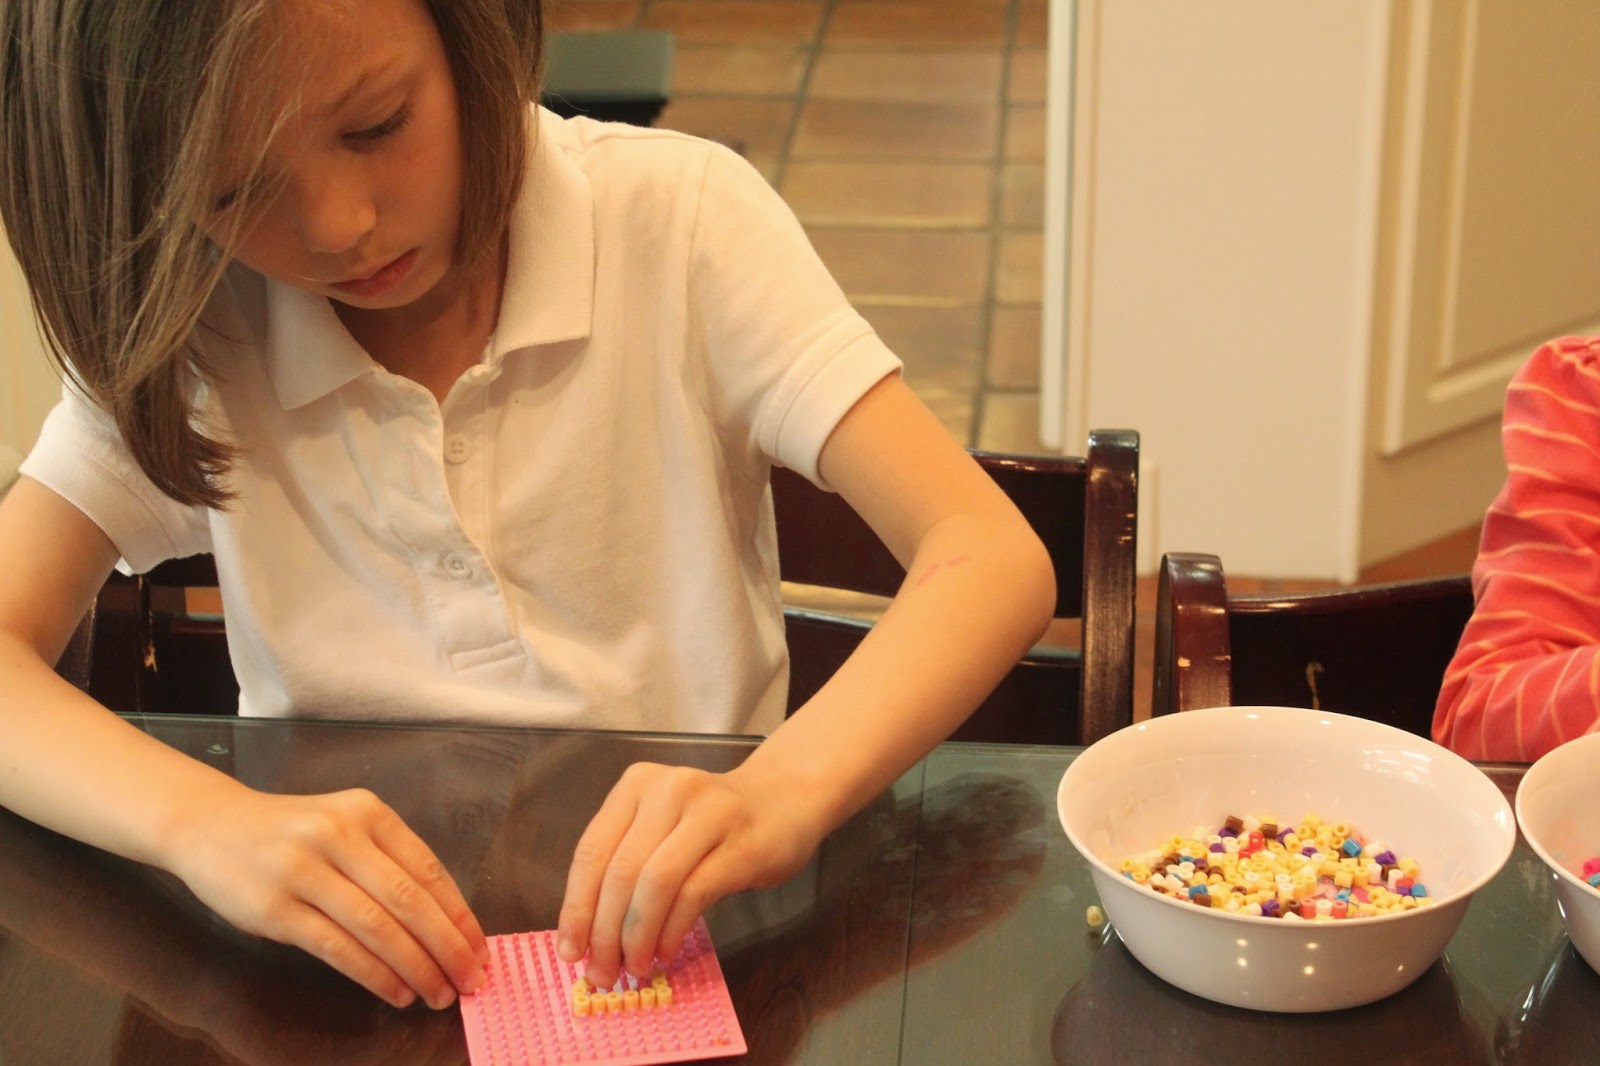
I found these little pre-packaged crafts that had all the melty beads needed to make the picture on the front of the package. Or you could just make whatever you wanted, which is what Ava and Sidney did. The instructions suggested using tweezers, but the girls did fine using their hands.
Here's what they created:
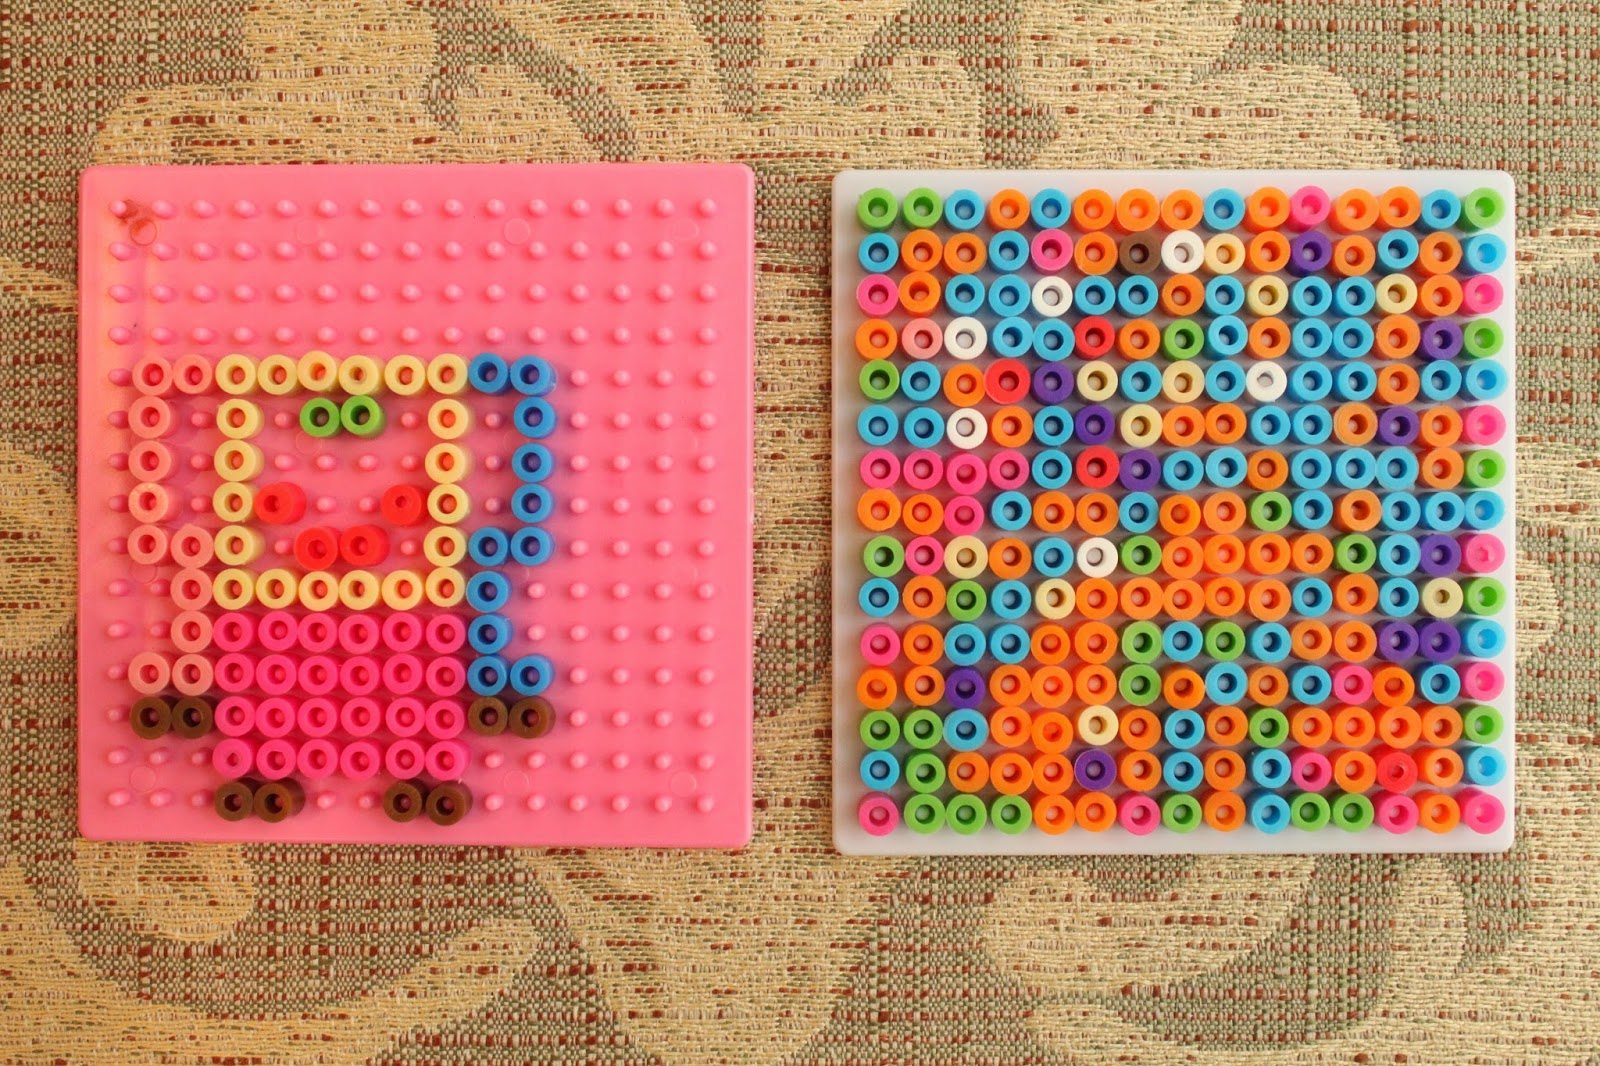
Ava made a girl with colored pony tails and Sidney did a cover-all!
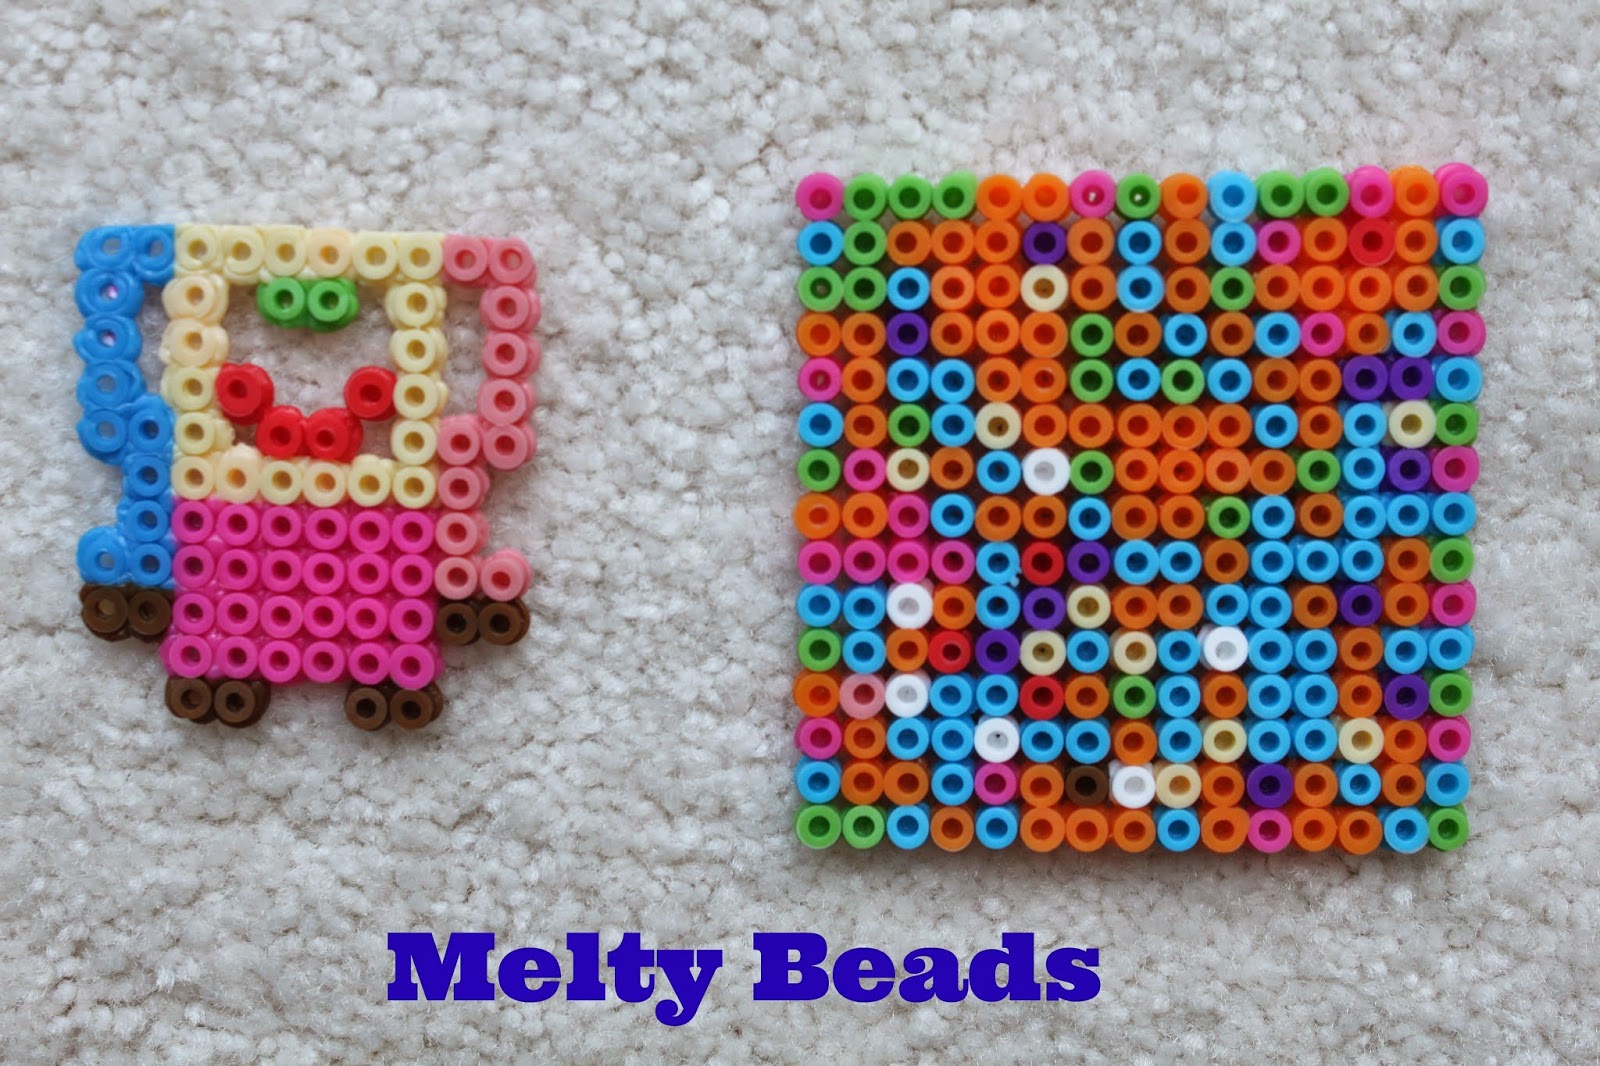
To melt them, you place a piece of wax paper (typically provided) over the melty beads and, using an iron with medium-high heat, apply pressure directly to the melty beads for 10-20 seconds, moving the iron in a circular motion. Here is what it will look like:

Let it cool down for a few minutes and then remove the wax paper from the melty beads. Then you should be able to remove the melty bead creation from the peg tray. And wha-la!
Now, let the summer fun begin!!

No comments:
Post a Comment